


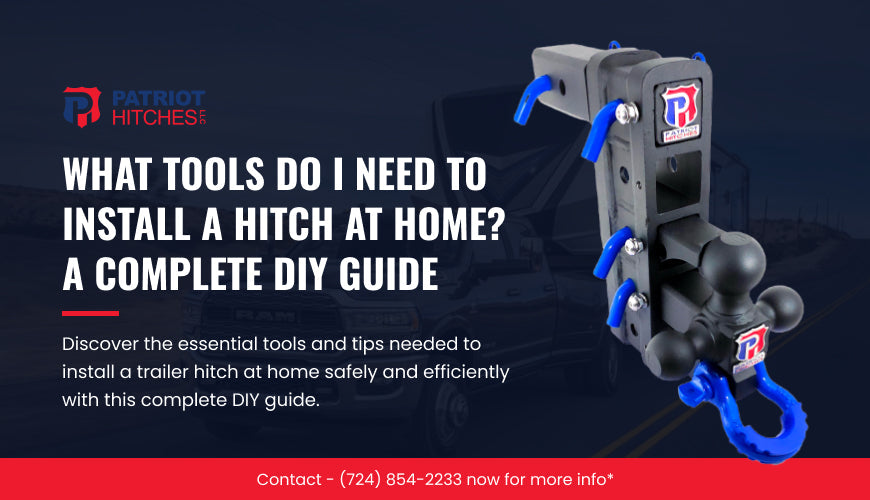
What Tools Do I Need to Install a Hitch at Home? A Complete DIY Guide
Recent Posts
-

-

Are Trailer Hitch Receivers Universal?
June 12, 2026 -

-


What Tools Do I Need to Install a Hitch at Home? A Complete DIY Guide
SCOTT MCCUSKEY @
Installing a trailer hitch at home can be a practical and cost-saving DIY project, especially for those who enjoy towing boats, campers, or trailers. While the process can be straightforward for many vehicles, it requires the right tools, a bit of know-how, and attention to safety. In this article, we’ll walk you through everything you need to know about the tools required to install a hitch at home, plus some bonus tips to ensure a successful installation.
Why Install a Hitch at Home?
Before diving into the toolbox, let’s take a moment to understand why you might want to install a trailer hitch yourself.
- Cost Savings: Professional installations can cost $100–$300 just for labor.
- Convenience: Do it on your own schedule, without leaving your car at the shop.
- Learning Experience: It's a hands-on project that boosts your mechanical confidence.
However, while some vehicles offer pre-drilled holes and simple bolt-on hitches, others may require more effort. Knowing what tools are needed ensures you’re prepared for anything your installation throws at you.
The Basic Tools You’ll Need
Here’s a rundown of the essential tools for most hitch installations. We’ll also mention some optional tools that make the job easier or are needed for certain vehicle types.
1. Socket Set and Ratchet Wrench
Purpose: Tightening and loosening bolts.
Most hitches are secured to the vehicle’s frame with bolts. A quality socket set is essential—preferably both metric and SAE sizes—to match your vehicle's specifications.
Recommended sizes:
- 10mm, 13mm, 15mm, 17mm, 18mm, 19mm, and 21mm
- Torque wrench attachment for ratchet
2. Torque Wrench
Purpose: Tightening bolts to the manufacturer’s recommended torque spec.
Proper torque ensures that the hitch stays secure without over-tightening and damaging bolts or threads. This is a must-have for safety.
Tip: Always check the torque specifications in your hitch's installation guide. Over- or under-torquing can lead to failure.
3. Jack and Jack Stands (or Ramps)
Purpose: Raising the vehicle to access the underside.
While some hitches can be installed without lifting the vehicle, having extra clearance is extremely helpful. Use a hydraulic jack and pair it with jack stands for safety. Drive-up ramps are another secure and fast option.
Caution: Never rely solely on a jack. Always use jack stands to prevent the vehicle from falling.
4. Drill and Drill Bits (if applicable)
Purpose: Drilling mounting holes if your vehicle doesn’t have pre-drilled holes.
Some older vehicles or specific models may not have factory pre-drilled holes for the hitch. In that case, a heavy-duty power drill and high-speed steel (HSS) bits will be needed.
Note: Drilling into the frame should be a last resort and only if the hitch manufacturer specifies it’s safe.
5. Safety Glasses and Gloves
Purpose: Protection during drilling, grinding, or lifting.
Safety should never be compromised. Use gloves to prevent cuts and scrapes, and wear safety glasses when drilling or working under the vehicle.
6. Measuring Tape or Ruler
Purpose: Aligning and centering the hitch properly.
It’s crucial that your hitch is centered before you tighten any bolts. Even a slight misalignment can affect towing dynamics and safety.
Optional but Helpful Tools
Depending on your vehicle and the hitch you’ve purchased, you may also need some additional tools.
1. Breaker Bar
Purpose: Loosening extremely tight bolts.
If your vehicle has rusty or factory-tight bolts, a breaker bar gives you the leverage needed to get them off without stripping or damaging the hardware.
2. Wire Brush or Rust Remover
Purpose: Cleaning mounting points before hitch installation.
Rust can prevent bolts from seating correctly. Use a wire brush to clean up frame rails or remove debris before mounting the hitch.
3. Trim Panel Removal Tools
Purpose: Removing plastic underbody panels or fascia.
Some vehicles require the removal of trim panels to expose hitch mounting points. Plastic tools help you do this without damaging the clips or panels.
4. Fish Wire or Bolt Leader Tool
Purpose: Routing bolts through the frame.
Some hitch kits come with a "fish wire" for threading bolts through difficult-to-reach areas inside the frame. If not, a bolt leader tool can be purchased separately.
5. Impact Wrench (Cordless or Pneumatic)
Purpose: Speeding up bolt tightening and removal.
While not essential, a cordless impact wrench makes the job faster and easier—especially if you’re dealing with tough or rusted bolts.
Hitch Installation: General Steps Overview
Now that you know the tools you’ll need, here’s a quick look at the general installation process:
- Check the Hitch Kit: Verify that you have all the parts and hardware listed in the manufacturer’s instructions.
- Prepare Your Work Area: Work on a flat, stable surface. Lift the vehicle if needed and use jack stands or ramps.
- Clean Mounting Points: Use a wire brush to clean debris and rust from the mounting surfaces.
- Position the Hitch: Align the hitch with the frame. Use clamps to hold it in place if working solo.
- Insert Bolts: Hand-thread all bolts to avoid cross-threading.
- Tighten and Torque Bolts: Use a torque wrench to tighten bolts to the specified torque.
- Double Check Your Work: Ensure all bolts are torqued, and the hitch is centered and secure.
- Test Fit: Attach the ball mount or receiver accessory to verify proper alignment and clearance.
Pro Tips for Smooth Installation
- Get a Second Set of Hands: Hitches are heavy and awkward to hold alone. Having a helper makes alignment and lifting easier.
- Use Anti-Seize Compound: Especially in cold climates, applying anti-seize on bolts can make future removal easier.
- Buy a Hitch with Custom Fit: Vehicle-specific hitches often fit better and require fewer modifications or drilling.
- Read the Instructions Carefully: Each hitch and vehicle combo is different. Don’t skip the manufacturer’s guide.
Safety Considerations
- Work on a Level Surface: A sloped driveway increases the risk of the vehicle slipping off jacks.
- Wear Protective Gear: Especially when using power tools or working under the vehicle.
- Torque Properly: Incorrectly torqued bolts can lead to dangerous towing failures.
- Test the Hitch: Before hitting the road, double-check all connections and test with a trailer or hitch accessory.
Common Mistakes to Avoid
- Skipping Torque Specs: Guessing isn’t good enough.
- Not Cleaning Mounting Points: Rust or dirt can prevent a secure fit.
- Over-Tightening Bolts: Can strip threads or damage the frame.
- Forgetting Electrical: If you’re towing a trailer, you’ll also need to install a wiring harness—often a separate task requiring additional tools.
What If You Need to Install a Wiring Harness?
Most towing setups require trailer lights to be functional. Wiring harness kits are often plug-and-play for newer vehicles and require basic tools:
- Wire strippers/crimpers
- Screwdriver
- Electrical tape or heat-shrink tubing
- Multimeter (for testing circuits)
Some harnesses plug into your tail light connectors, while others may require running wires to the battery or grounding to the frame.
Final Thoughts
Installing a hitch at home can be an empowering project that saves money and gives you more control over your towing setup. With the right tools—sockets, torque wrench, jack stands, and a few extras—you’ll be able to get the job done safely and efficiently.
To recap, here are the must-have tools:
- Socket and ratchet set
- Torque wrench
- Jack and jack stands (or ramps)
- Safety gear (gloves, glasses)
- Measuring tape
- Drill (optional)
And remember, taking your time, reading the instructions, and using the right tools will pay off in a hitch that’s safe, secure, and ready for the road.
Ready to start your project? Gather your tools, check your vehicle’s compatibility, and tackle that hitch installation like a pro! If you have any questions or run into trouble, consult a mechanic or reach out to the hitch manufacturer for guidance.